Store documents directly to Google Drive
Leverage Google Service Account to Store your documents with QBitSign
This step by step guide will guide you on how to upload files to Google Drive using service account with QBitsign.
***With this setup, QBitSign will not store any documents, all documents will be upload to google drive directly from the moment the credential is uploaded and activated in our system. QBitSign will not be responsible with the storage or backups of the documents stored in private google drive.
*** WARNING: Any manual manipulation of contents in google drive will affect documents retrieval procedure there after.
1. Create a Google Cloud Project
Go to cloud.google.com and create a new Google Cloud project. Give your project a name, change the project ID and click the Create button.

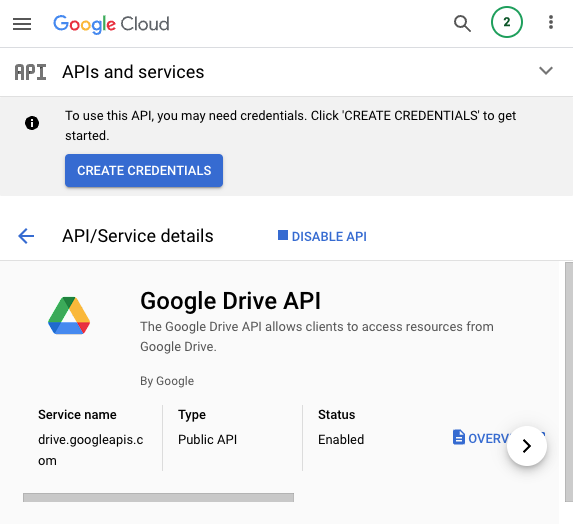
2. Enable Google APIs
Choose APIs & Services from the left menu and click on Enable APIs and Services to enable the various Google APIs. If you planning to upload files to Google Drive then you will need to enable Drive API. If you wish to use the Google Cloud Storage API then you will need to enable Storage API.

3. Create a Service Account
In the APIs & Services section, click on Credentials and click on Create credentials to create a service account.

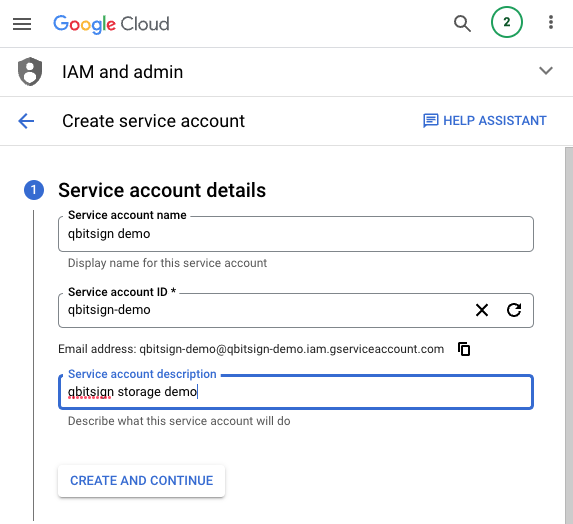
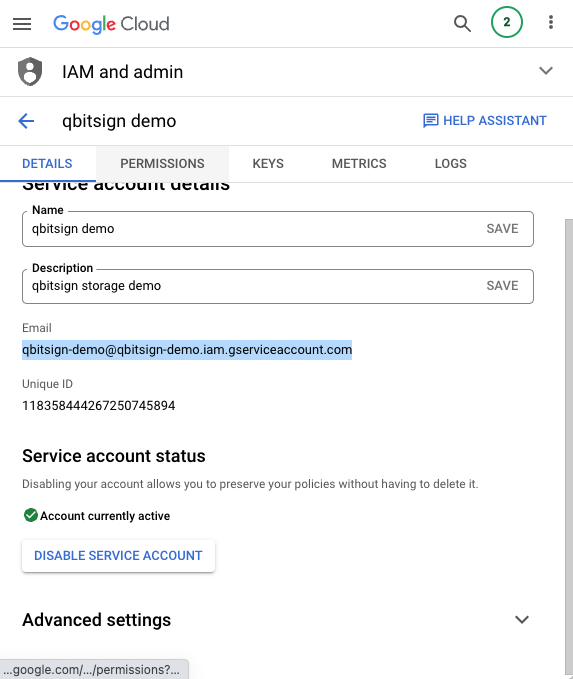
3a. Describe the Service Account
Give your service account a name and a service account ID. This is like an email address and will be used to identify your service account in the future. Click Done to finish creating the service account.

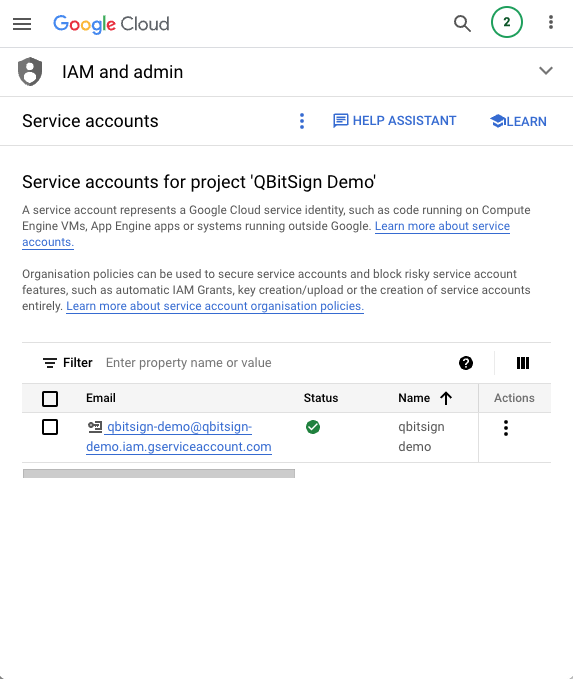
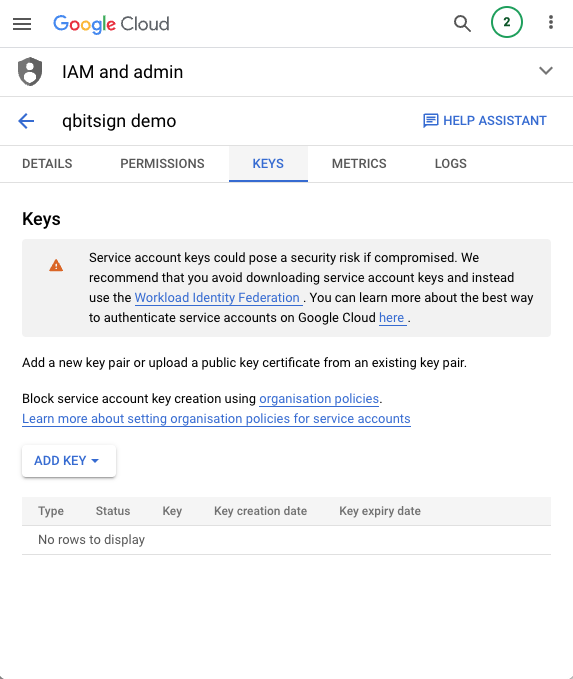
3b. Create a Key File
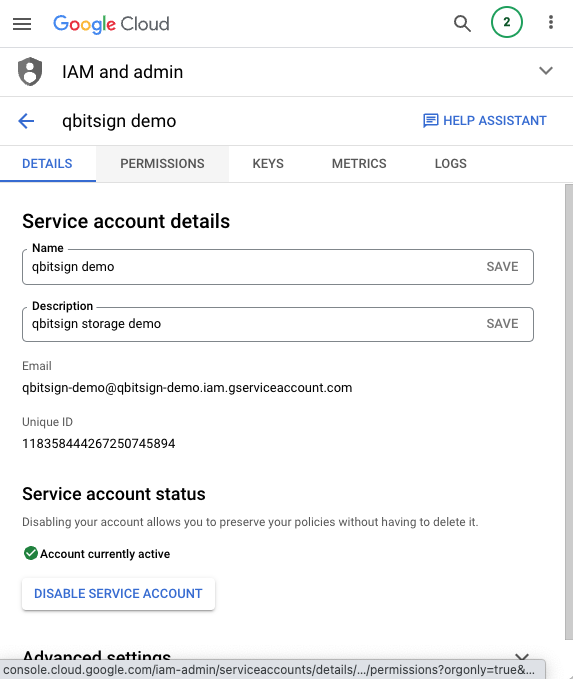
In the Cloud Console, go to IAM and Admin > Service accounts page. Click the email address of the service account that you want to create a key for. Click the Keys tab. Click the Add key drop-down menu, then select Create new key.
Select JSON as the Key type and then click Create. This will download a JSON file that will contain your private key. Do not commit this file to the Github repository.

4. Share a Drive Folder
Go to your Google Drive -> create a new folder and name it ‘qbitsign'. Right-click the folder, choose Share and add the email address of the service account you created in step 3 as an editor to this folder.
Thus QBitSign will be able to access this folder and upload files to it. The application will not have access to any other resources on your Google Drive.
*** Do NOT edit contents in ‘qbitsign’ folder.

Copy email account created in google cloud, and paste it in google drive

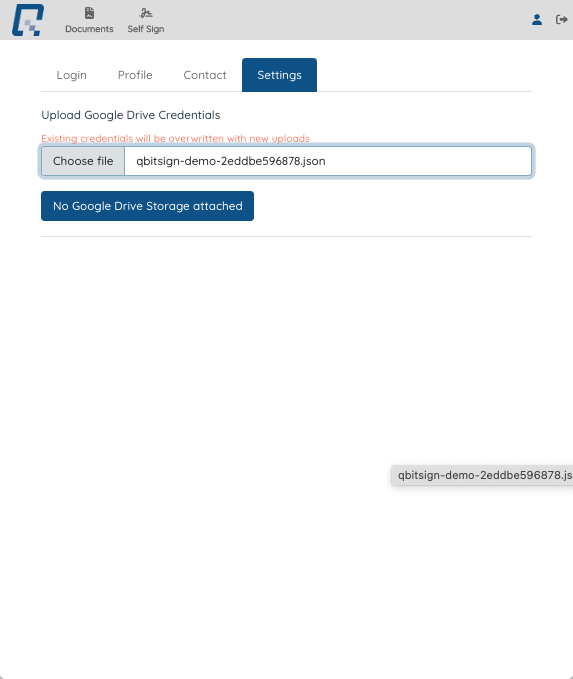
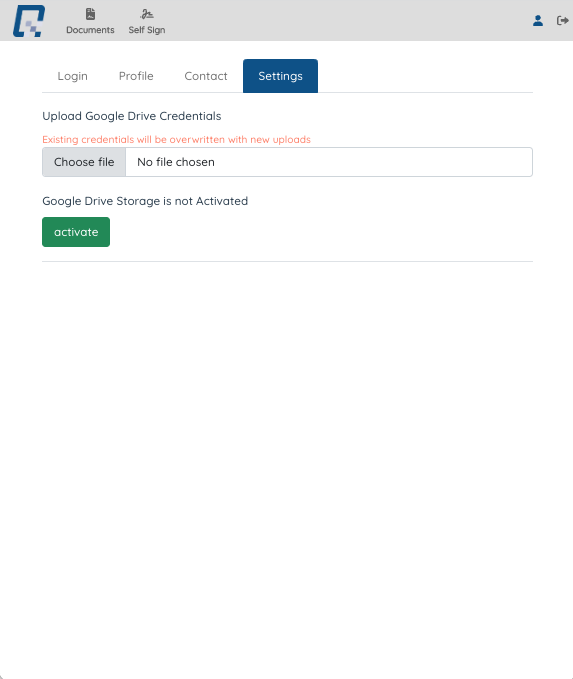
5. Upload credential File to QBitsign Settings
Login to QBitsign, go to https://www.qbitsign.com/app/profile.
Click Settings -> Choose file and select the json file which has been downloaded to your local drive in step 3b. QBitSign will proceed to verfify the setup.

We use cookies to ensure that we give you the best experience on our website. If you continue to use this site we will assume that you are happy with it.
Close and Accept Privacy Policy